Applying color to Synchronization label and submachines
Applying color to Synchronization label
The following exercise explains how you can define color for operations by turret ID, table ID, or workpiece ID.
- Open the SolidCAM Settings window. Click Tools > SolidCAM > SolidCAM Settings. In the SolidCAM Settings window, click Channel synchronization.
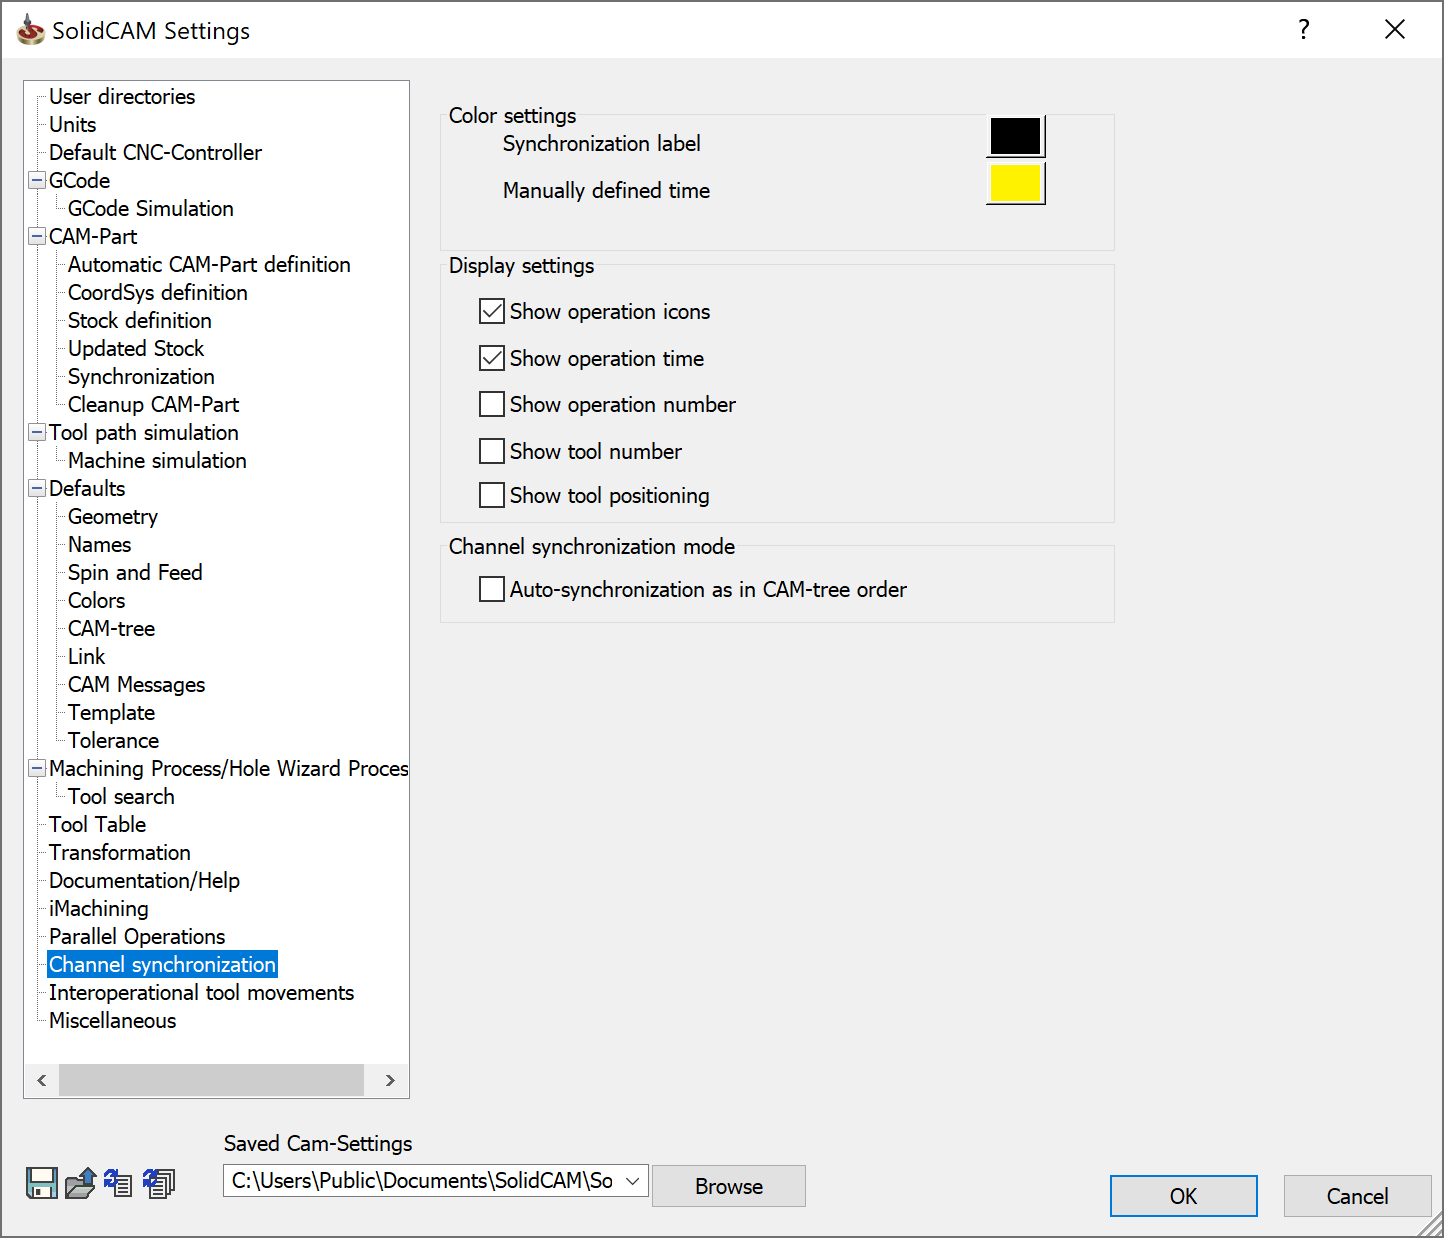
2. Click the button in front of Synchronization label. The Color window displays. Click on the color you want to give to the synchronization label and click OK. The color you defined here, is applied to the labels that you later define in the Channel Synchronization window.
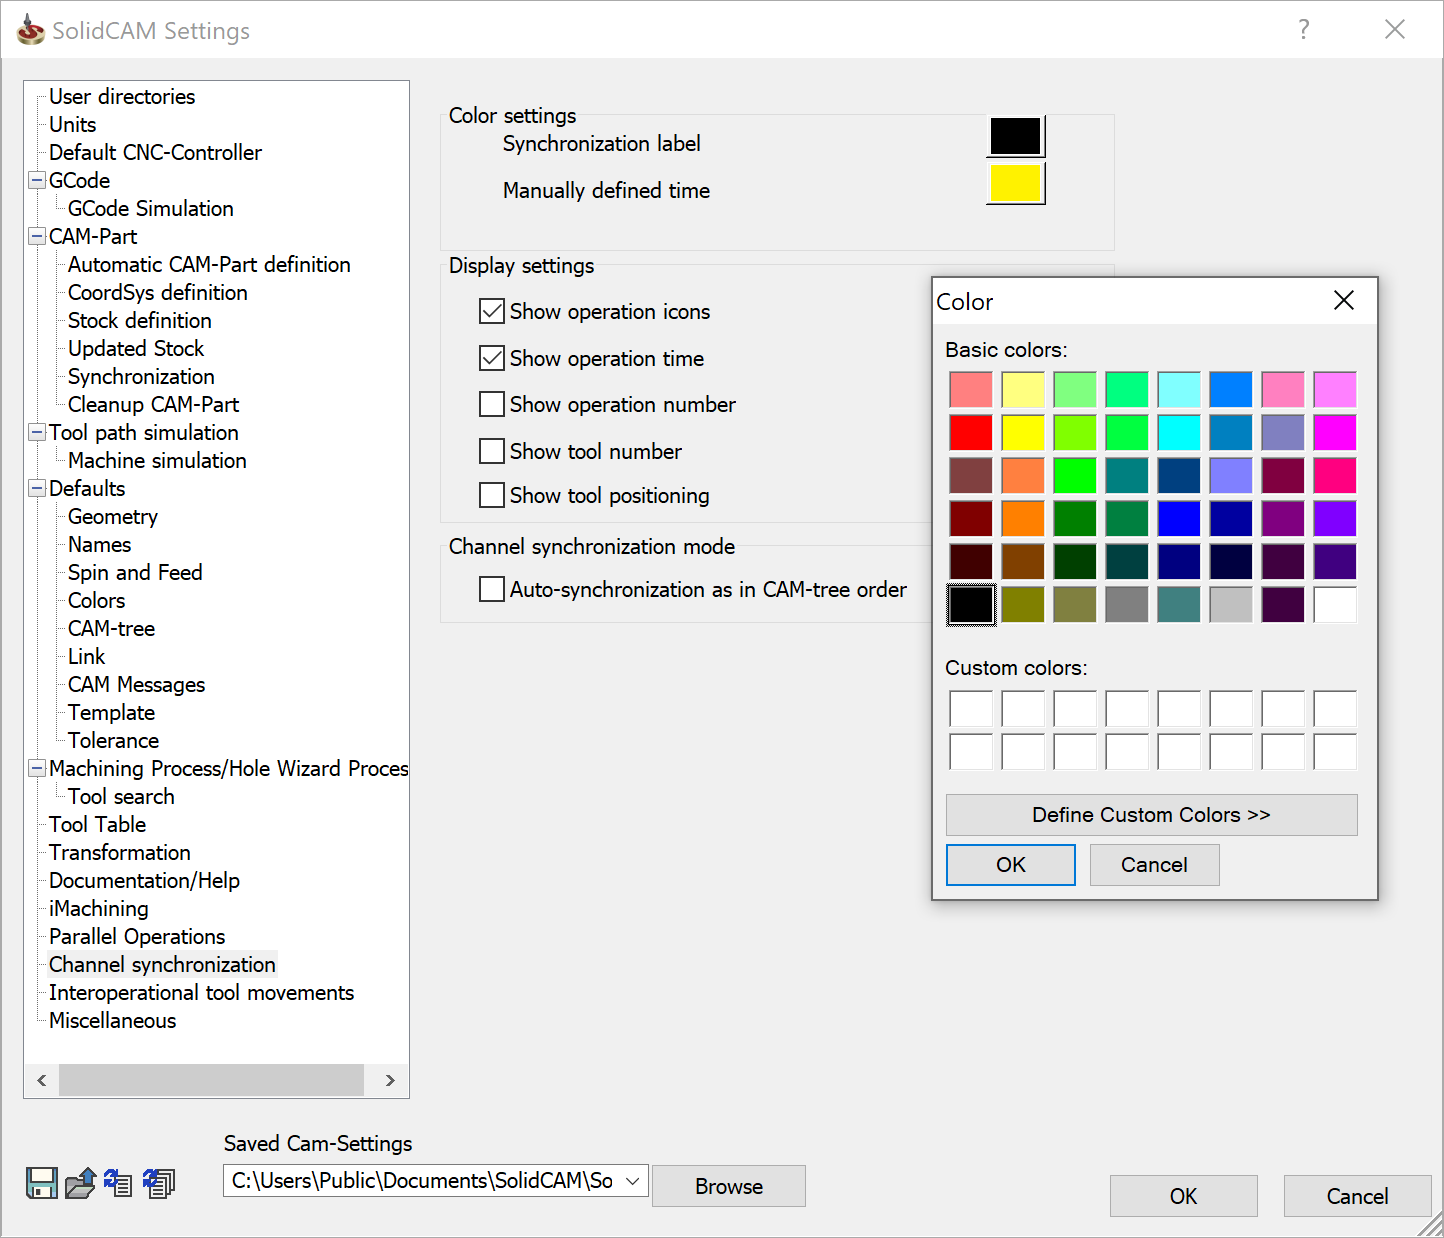
- Click the button in front of Manually defined time. Define the color in the same way as you defined it for Synchronization label. The color you define here, will be applied when you manually define the calculation time of an operation in the Channel Synchronization window.
Applying color to submachines
In the CAM tree, double-click Machine. The MACHINE ID EDITOR window displays.
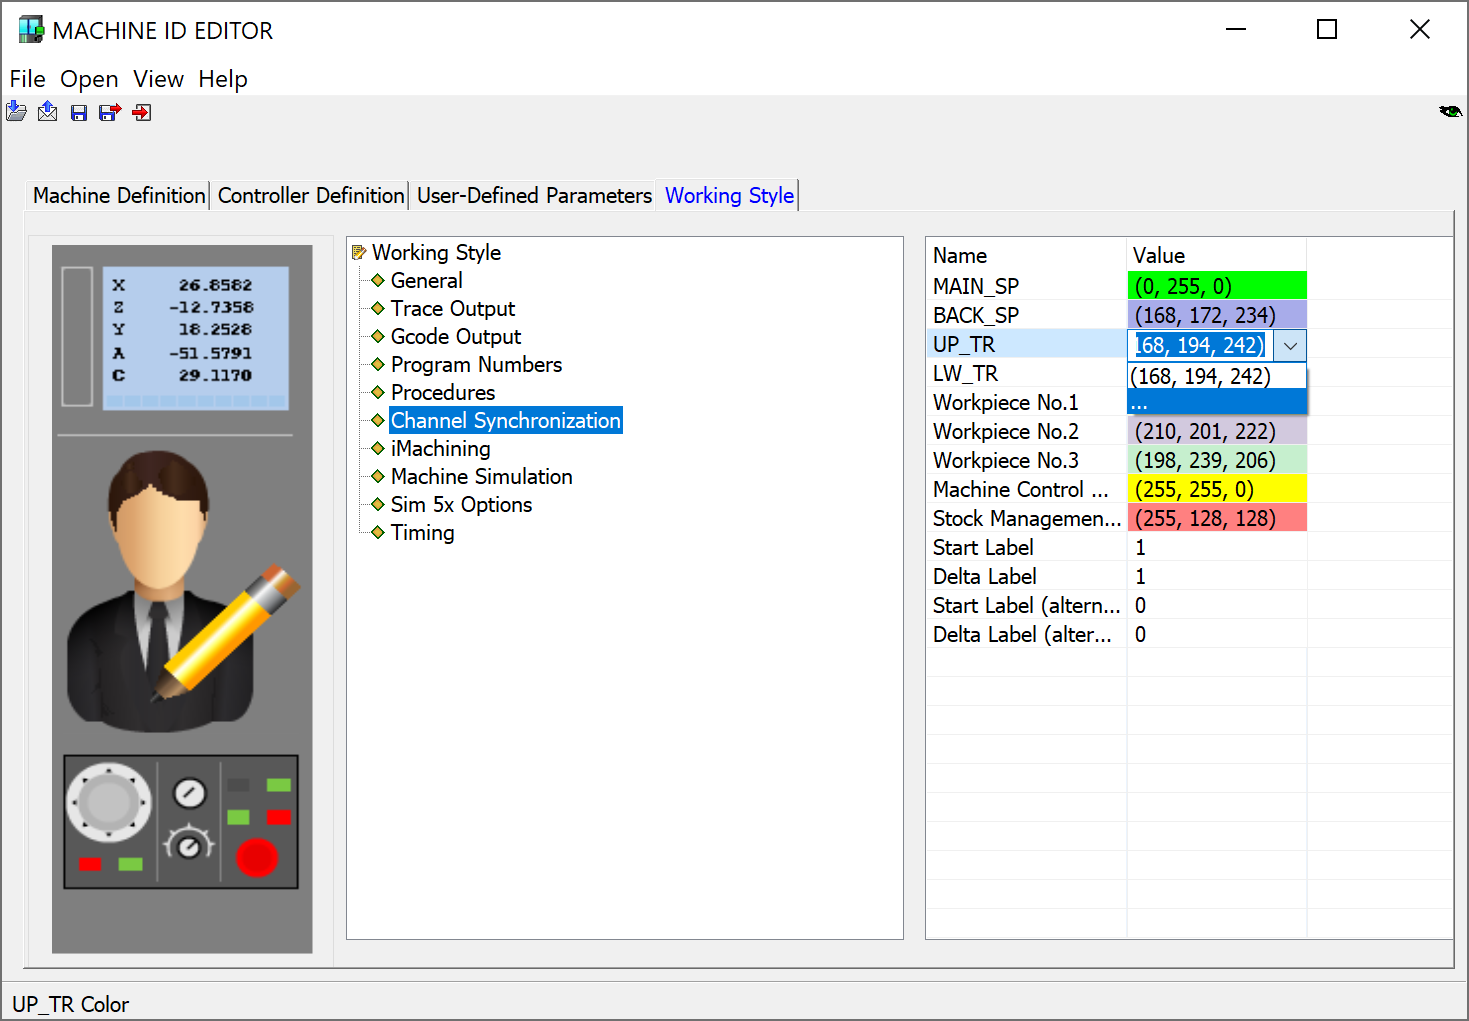
Click the Working Style tab. Click Channel Synchronization in the left pane. In the right pane, you can see the RGB values of the selected color displayed in the columns. Click in the column next to Up_TR. Click the ... icon.
The Color window displays. Define the color in the same way as you defined it for Synchronization label. Click Save and close the MACHINE ID EDITOR window.
The color you define here, will be applied when you select the Color operations by Turret button in the Channel Synchronization window.
You can define the color for lower turret, main spindle, back spindle, and workpieces in the same manner. The color you define here, will be applied when you select the Color operations by Table or Color operations by Workpiece buttons in the Channel Synchronization window respectively.