iMachining – iFinish tool path examples
iFinish example
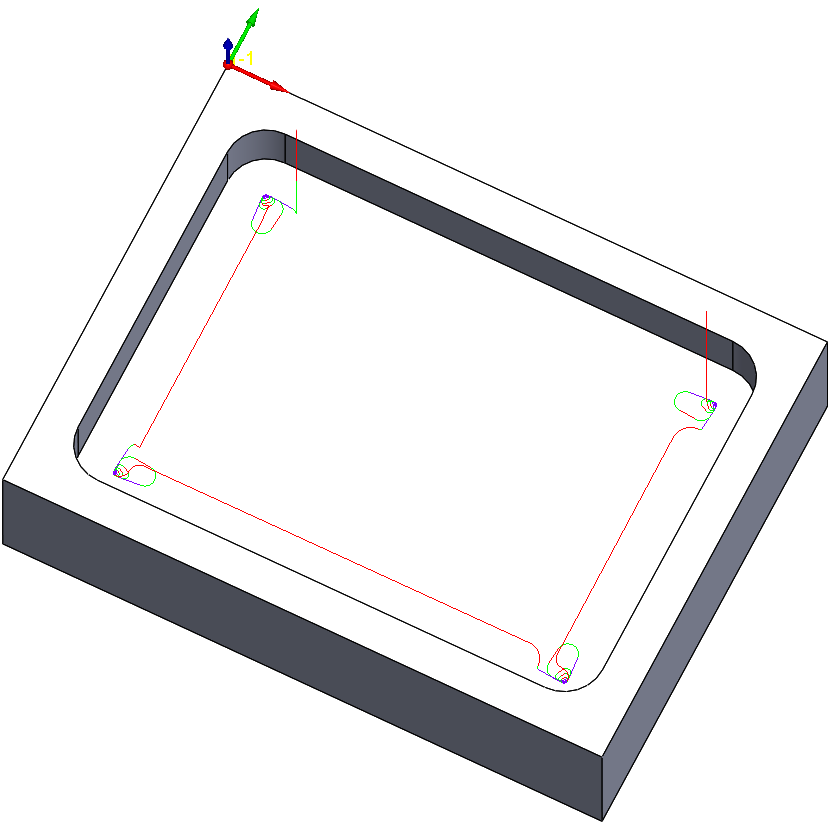
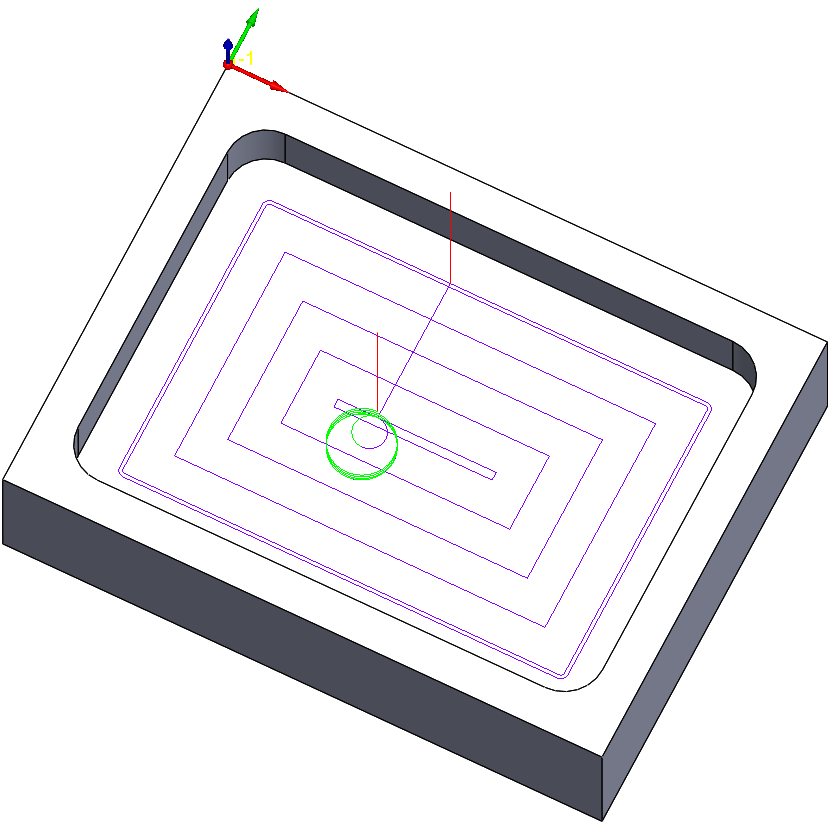
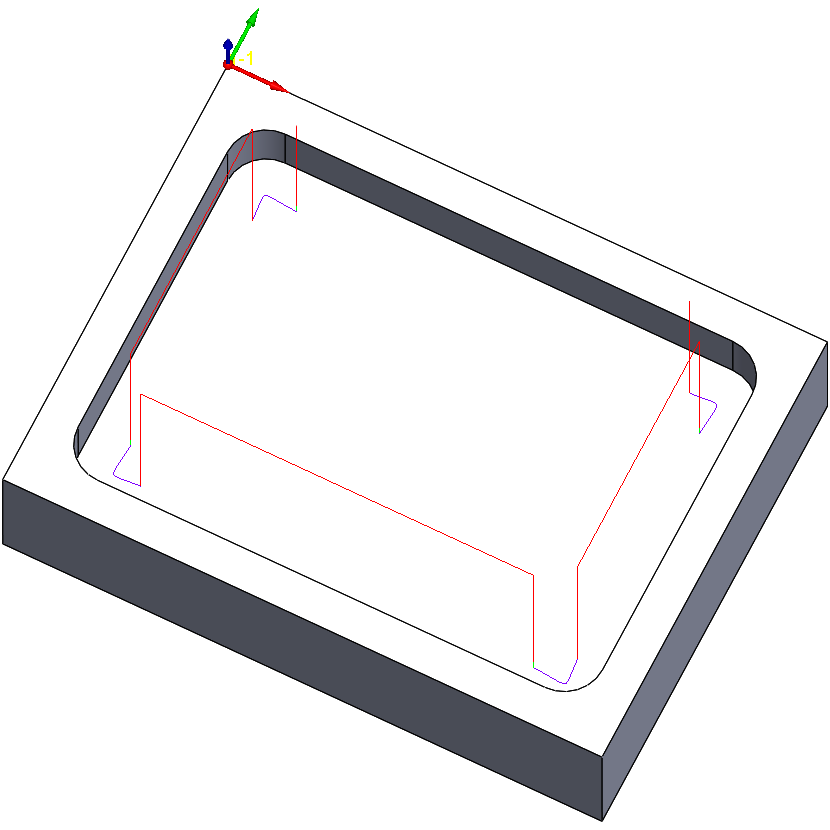
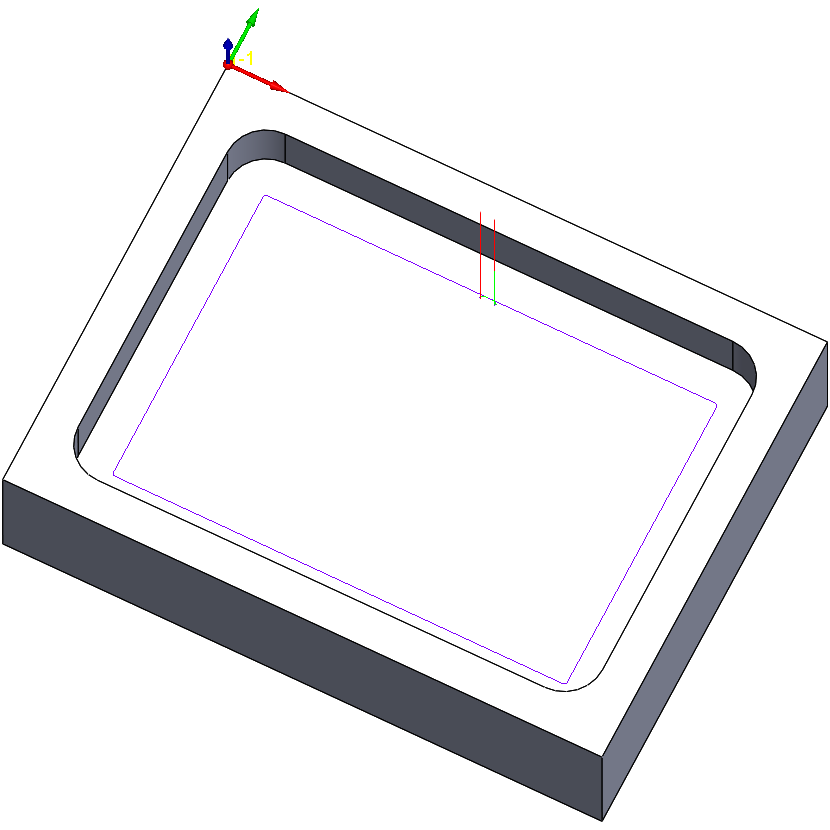
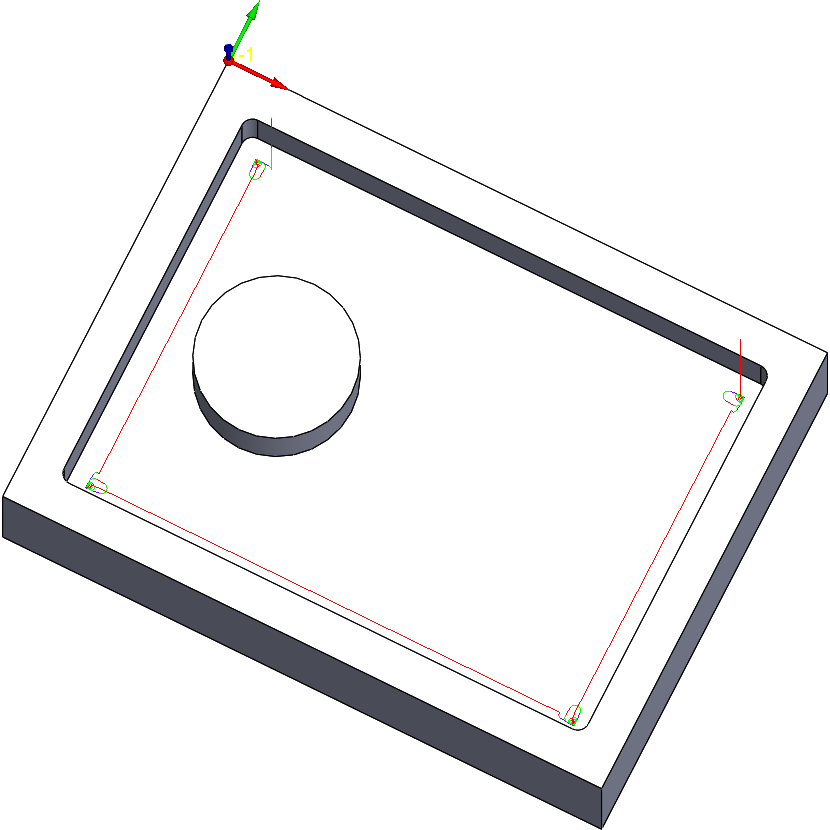
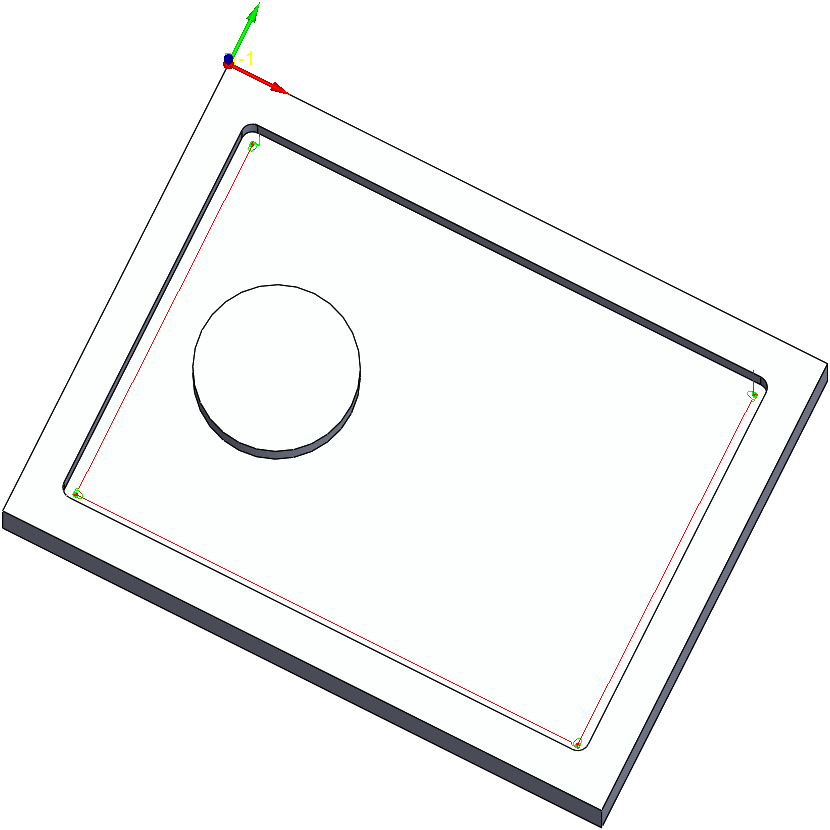
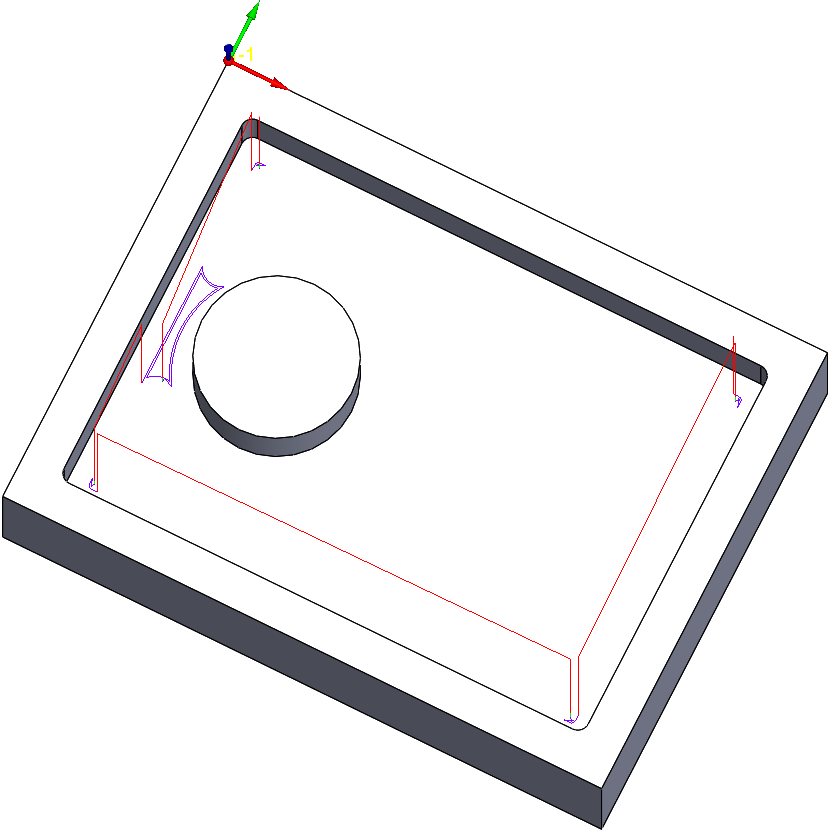
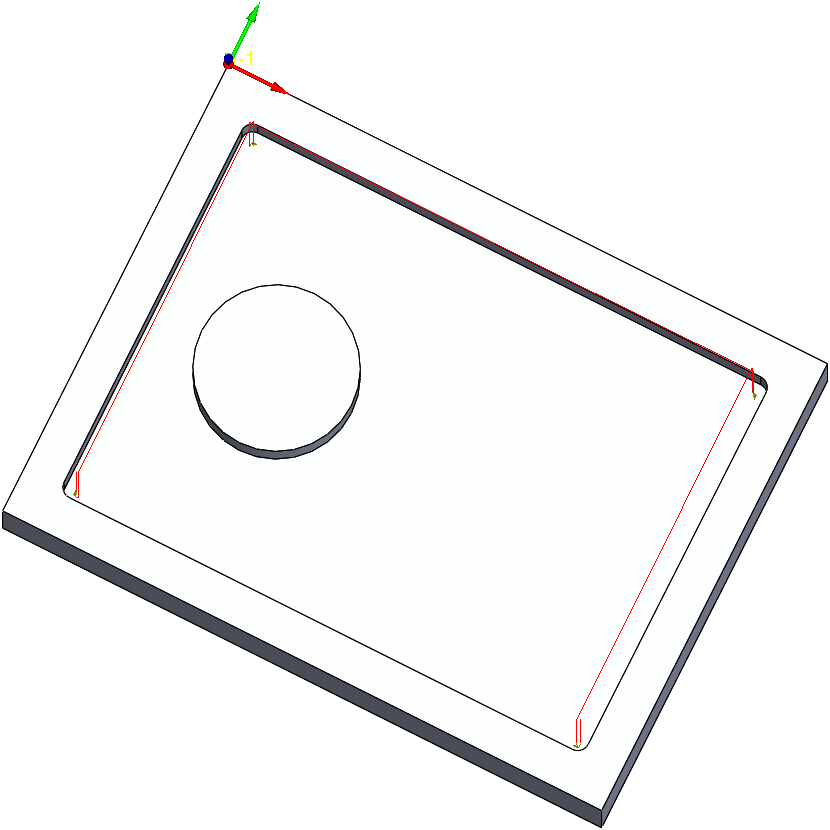
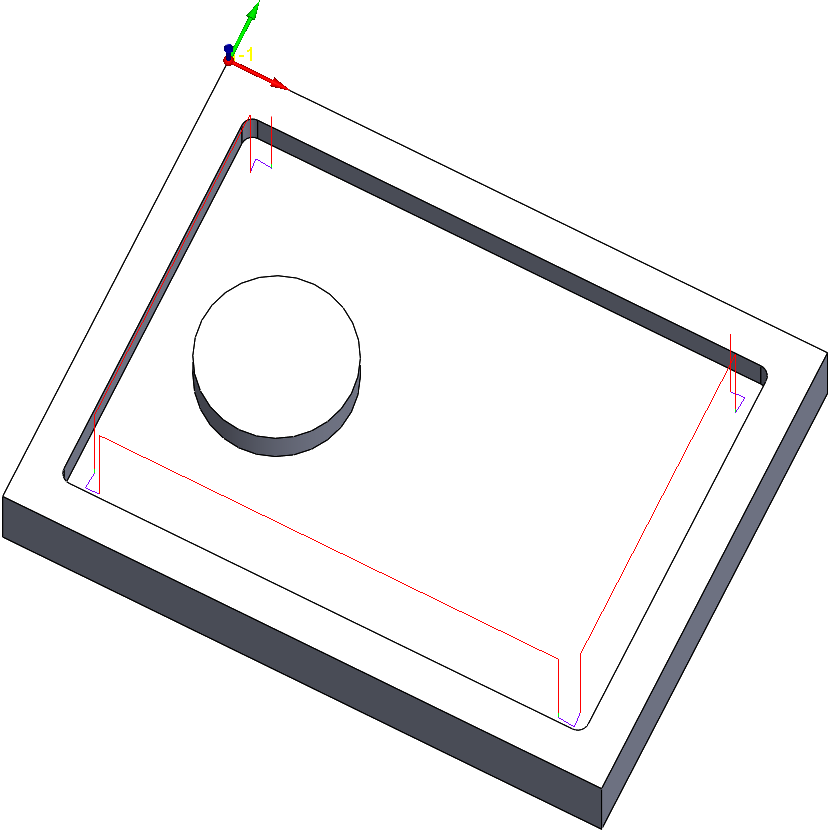
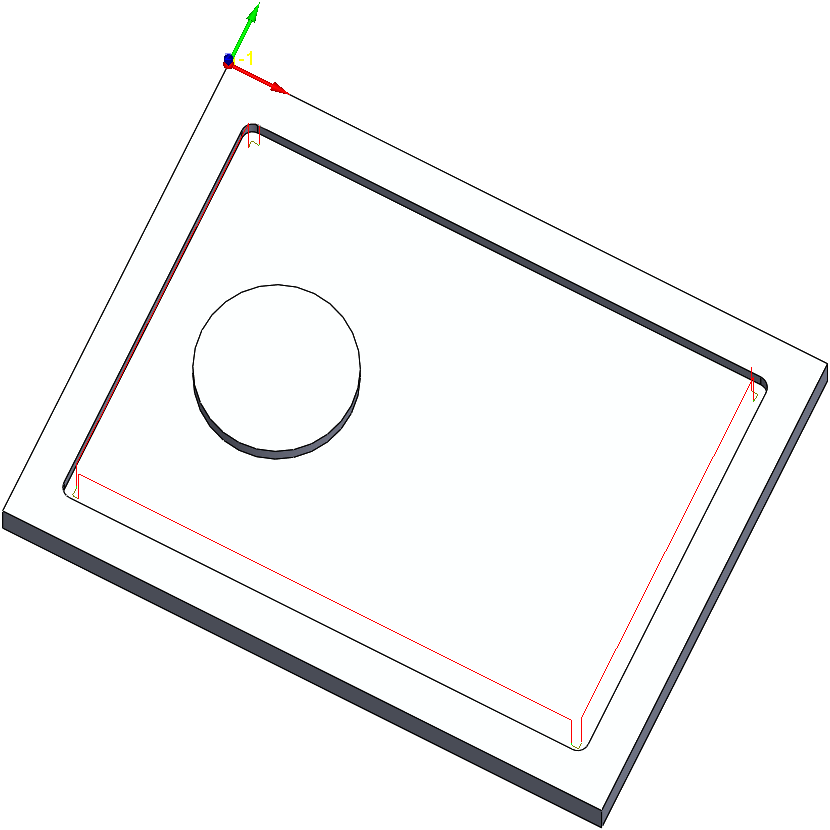
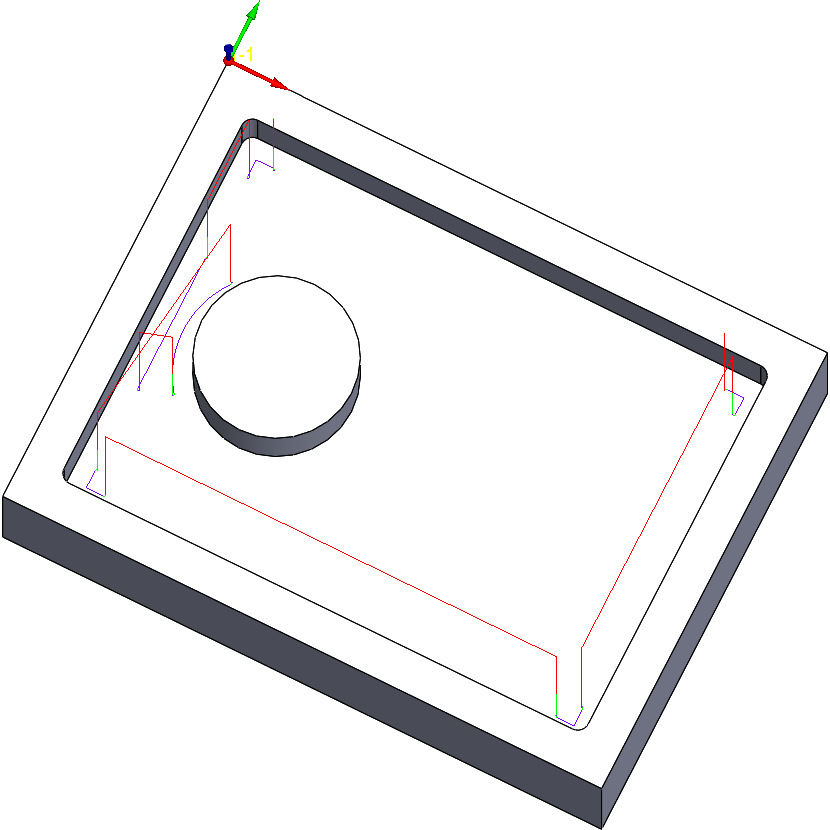
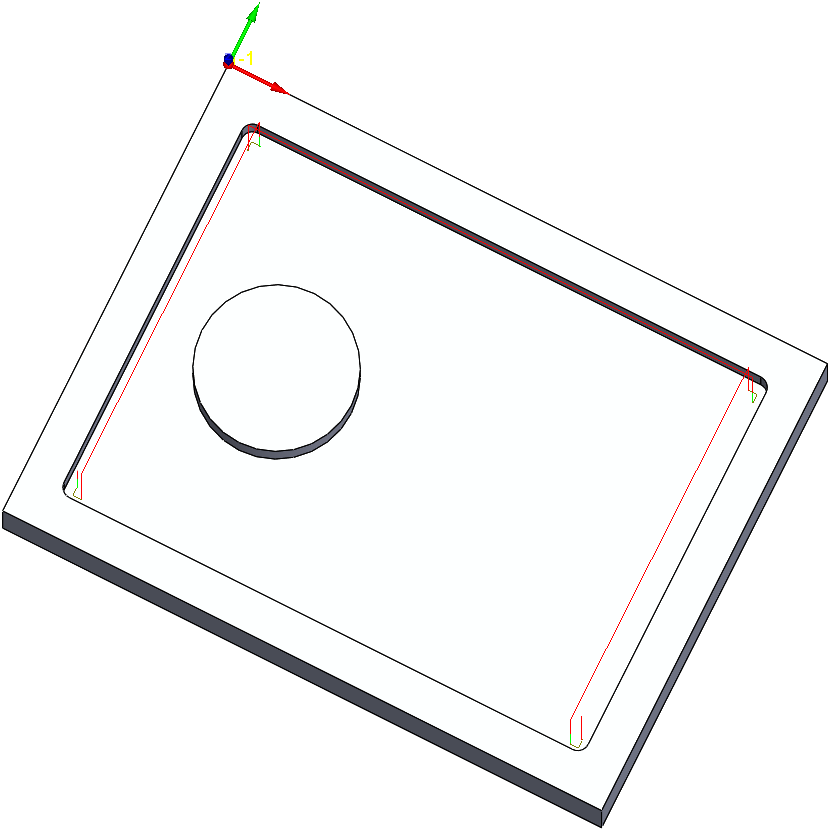
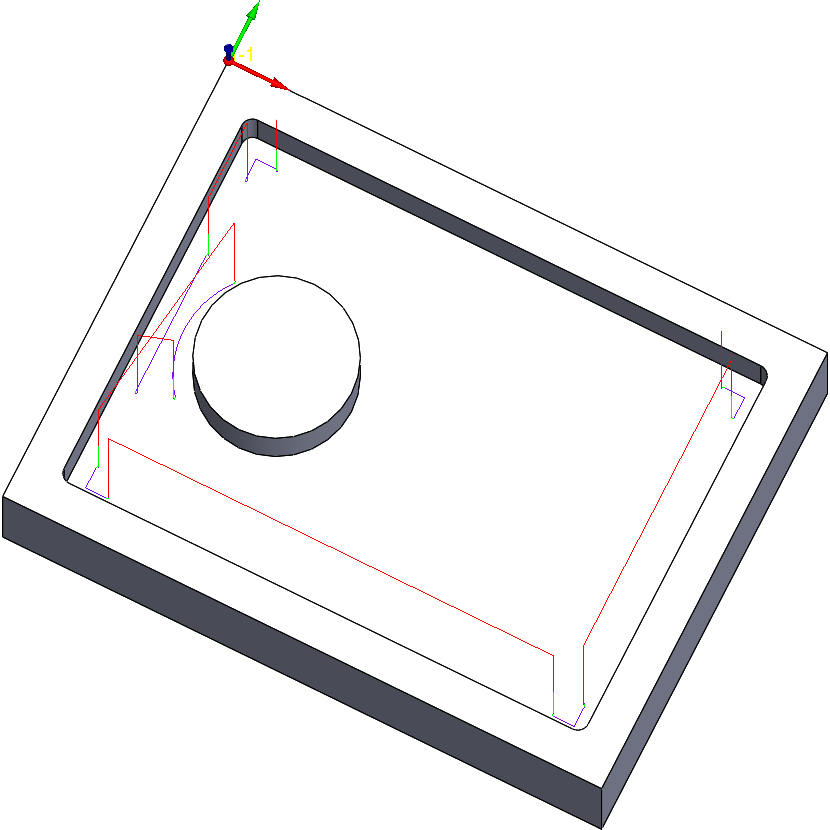
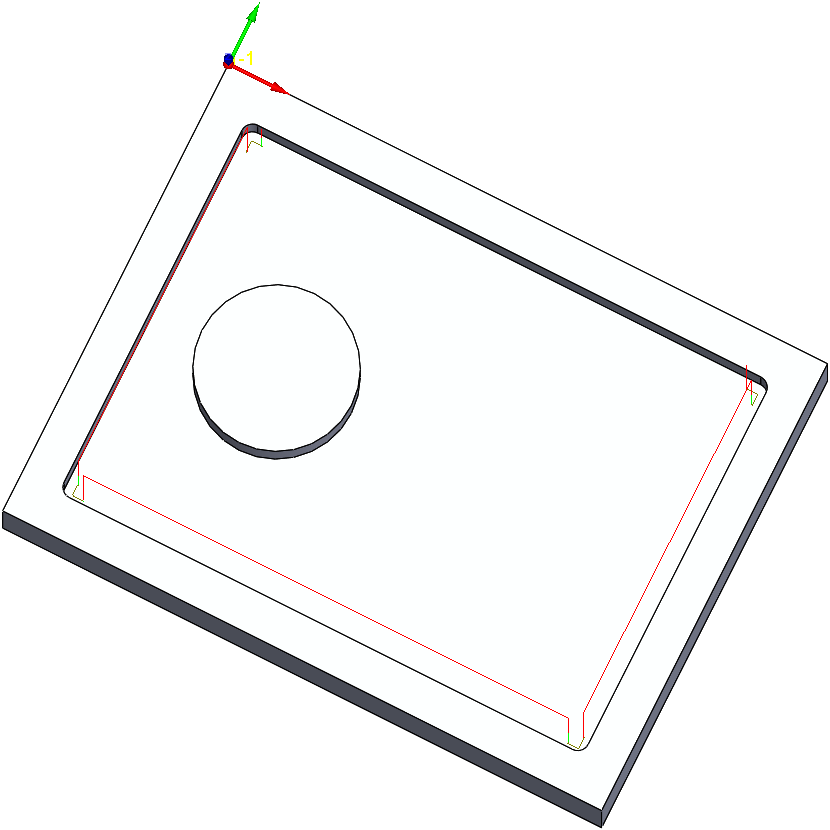
In the example below, the machining of a simple pocket is defined using two tools (of the same size) and two operations. After the roughing is performed with a Ø12 mm (0.5 in) end mill, an iFinish operation performs the finishing of the floor and walls with a separate Ø12 mm (0.5 in) end mill.
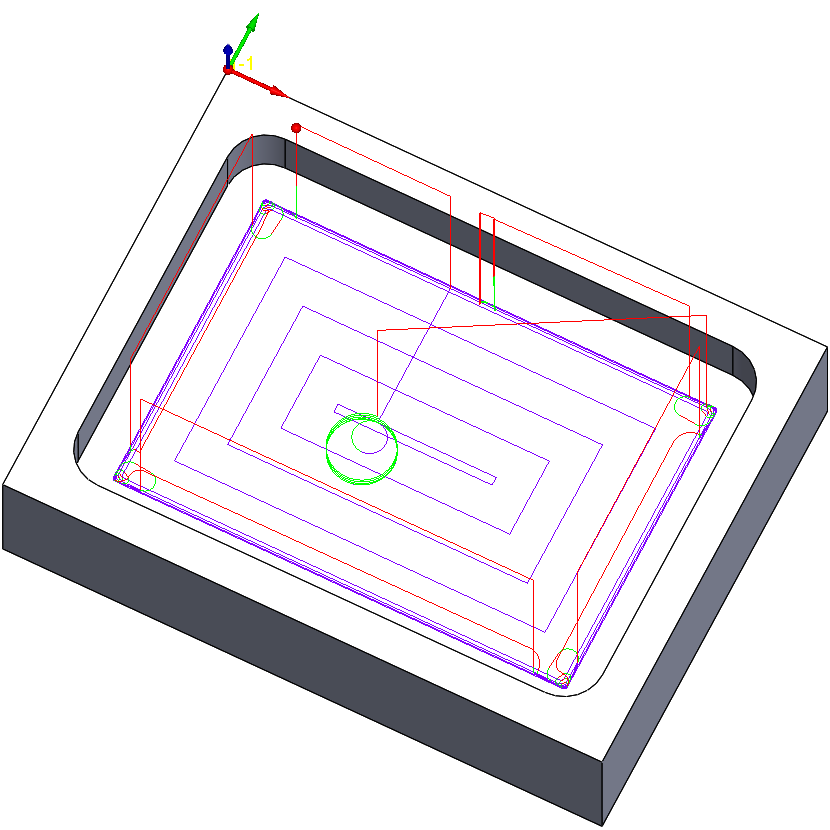
According to the operation defaults (plus finishing of the floor), the complete iFinish tool path above consists of four consecutive steps. To demonstrate how iMachining automatically optimizes the tool path, the working order of those steps is as follows:
|
 |
|
 |
|
|
|
|
Finish after finish example
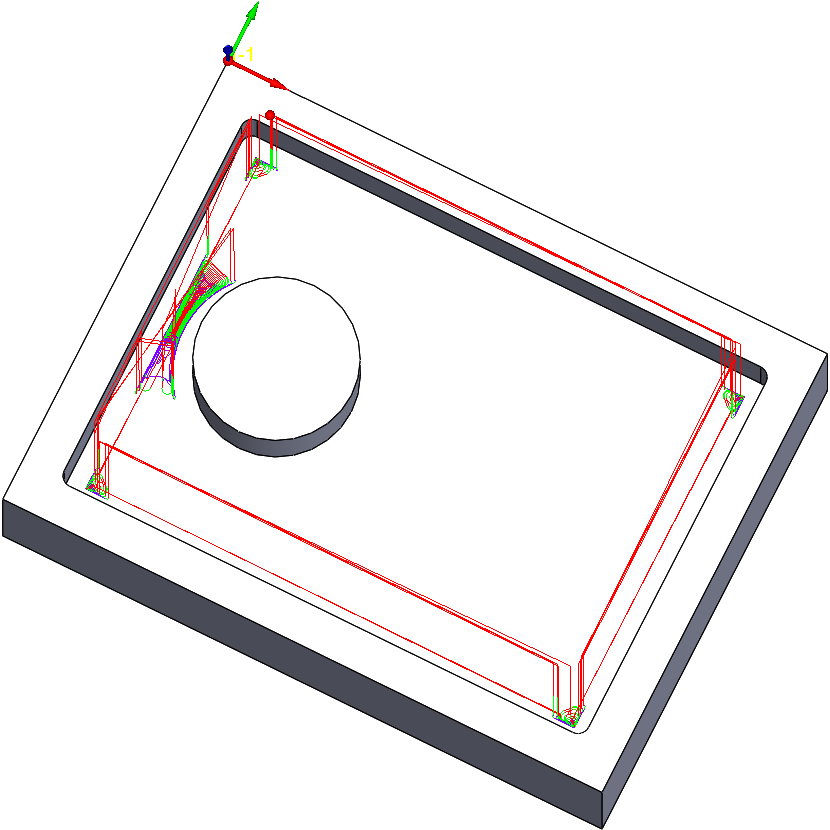
In the example below, the machining of a pocket is defined using three tools (of different sizes) and three operations. An iRough + iFinish operation performs the roughing as well as the finishing of the floor and walls using a Ø12 mm (0.5 in) end mill. An iFinish operation then performs rest roughing of the tight area/corners as well as the floor and wall finishing in those areas using a Ø6 mm (0.25 in) end mill. The last operation further performs rest roughing and finishing in the corners using a Ø3 mm (0.125 in) end mill. All operation defaults are used plus wall semi-finishing and floor finishing.
|
|
|
iRough + iFinish tool path |
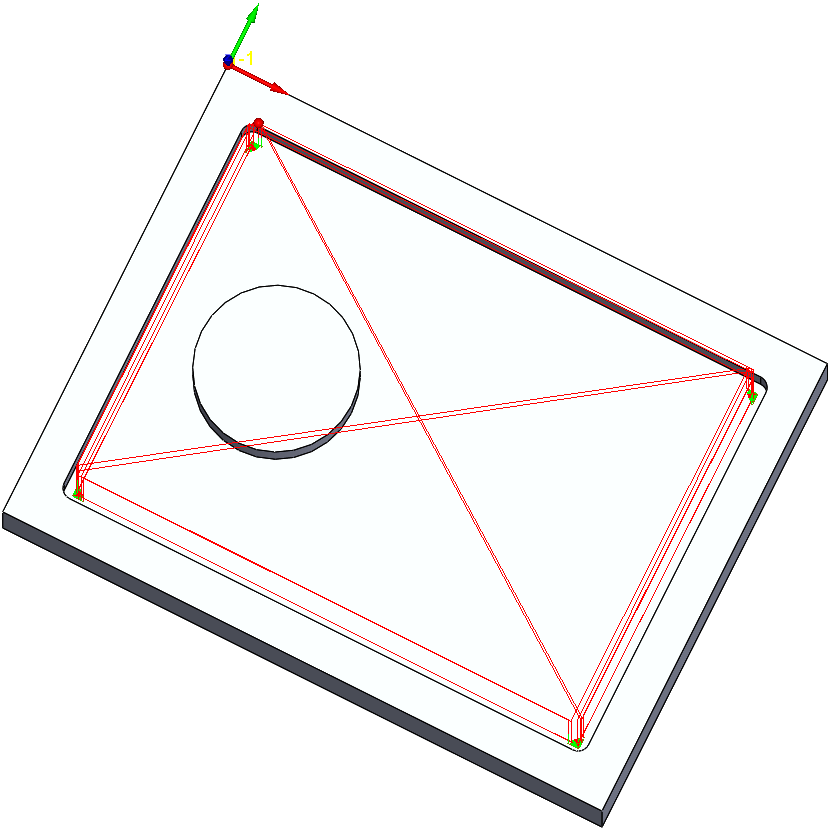
iFinish tool path Step down reduced to 1 for clarity |
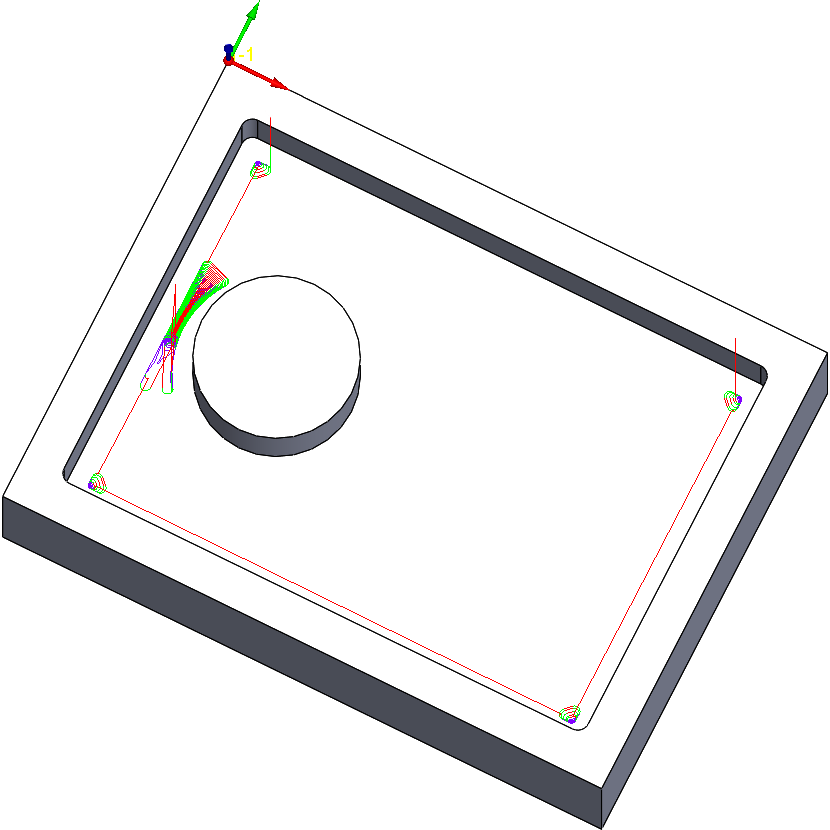
Finish after finish tool path Step down reduced to 1 for clarity |

For each of the operations above, the complete tool path consists of six consecutive steps. To demonstrate how iMachining automatically optimizes the tool path, the working order is as follows:
iRough + iFinish tool path steps Ø12 mm (0.5 in) end mill |
iFinish tool path steps Ø6 mm (0.25 in) end mill |
Finish after finish tool path steps Ø3 mm (0.125 in) end mill |
|
|
|
|
|
|
|
|
|
|
|
|
|
|
|
|
|
|


Click here to see a live cutting video of the above example.