Importing Tool Items
If you want to use a Tool Item from another CAM project, it can be imported to the Part Tool Library of your CAM-Part.
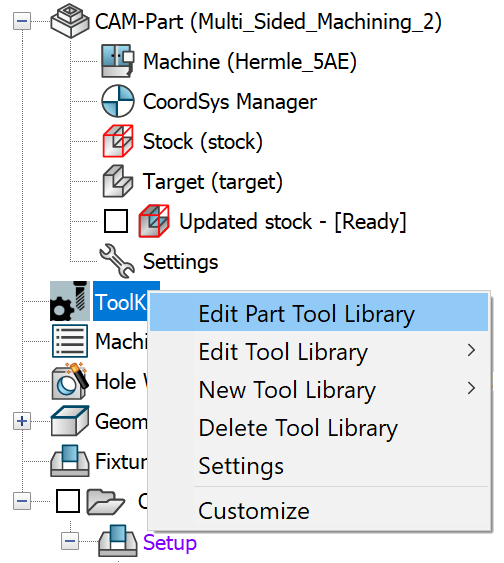
You can import any number of Tool Items at the Operation stage or from the CAM Manager > ToolKit header > Edit Part Tool Library command. Whichever method you choose offers the same options.
The steps to import Tool Items from an existing CAM-Part Tool Library are as follows:
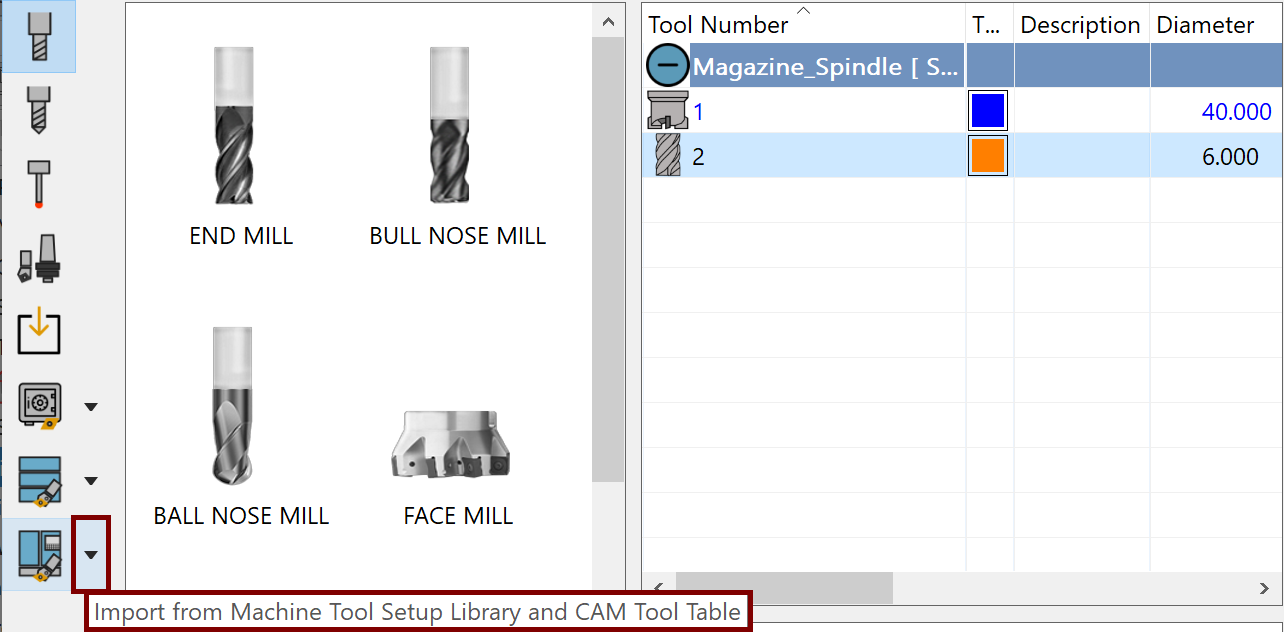
- On the Library Toolbar, click the Import from Machine Tool Setup Library and CAM Tool Table arrow icon as shown.
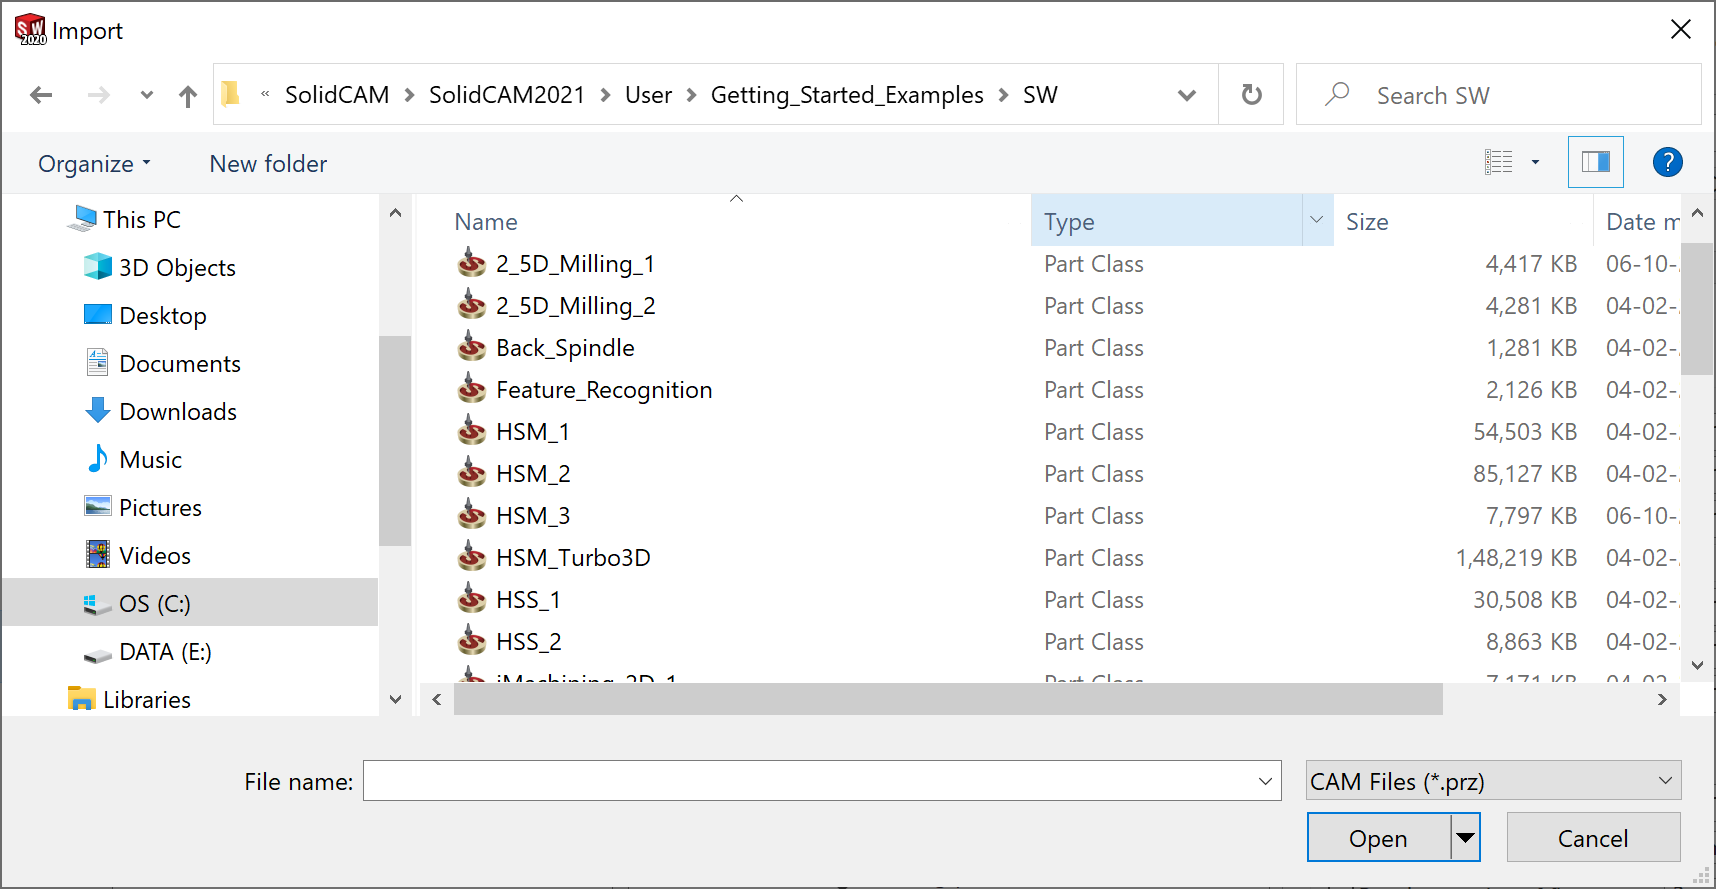
Using the Import dialog box, browse to and Open the CAM-Part file from which you want to import the Tool Items.
|
Tool Items can be imported from either type of CAM-Part, non-compressed (*prt) or compressed (*prz).
|
.png)
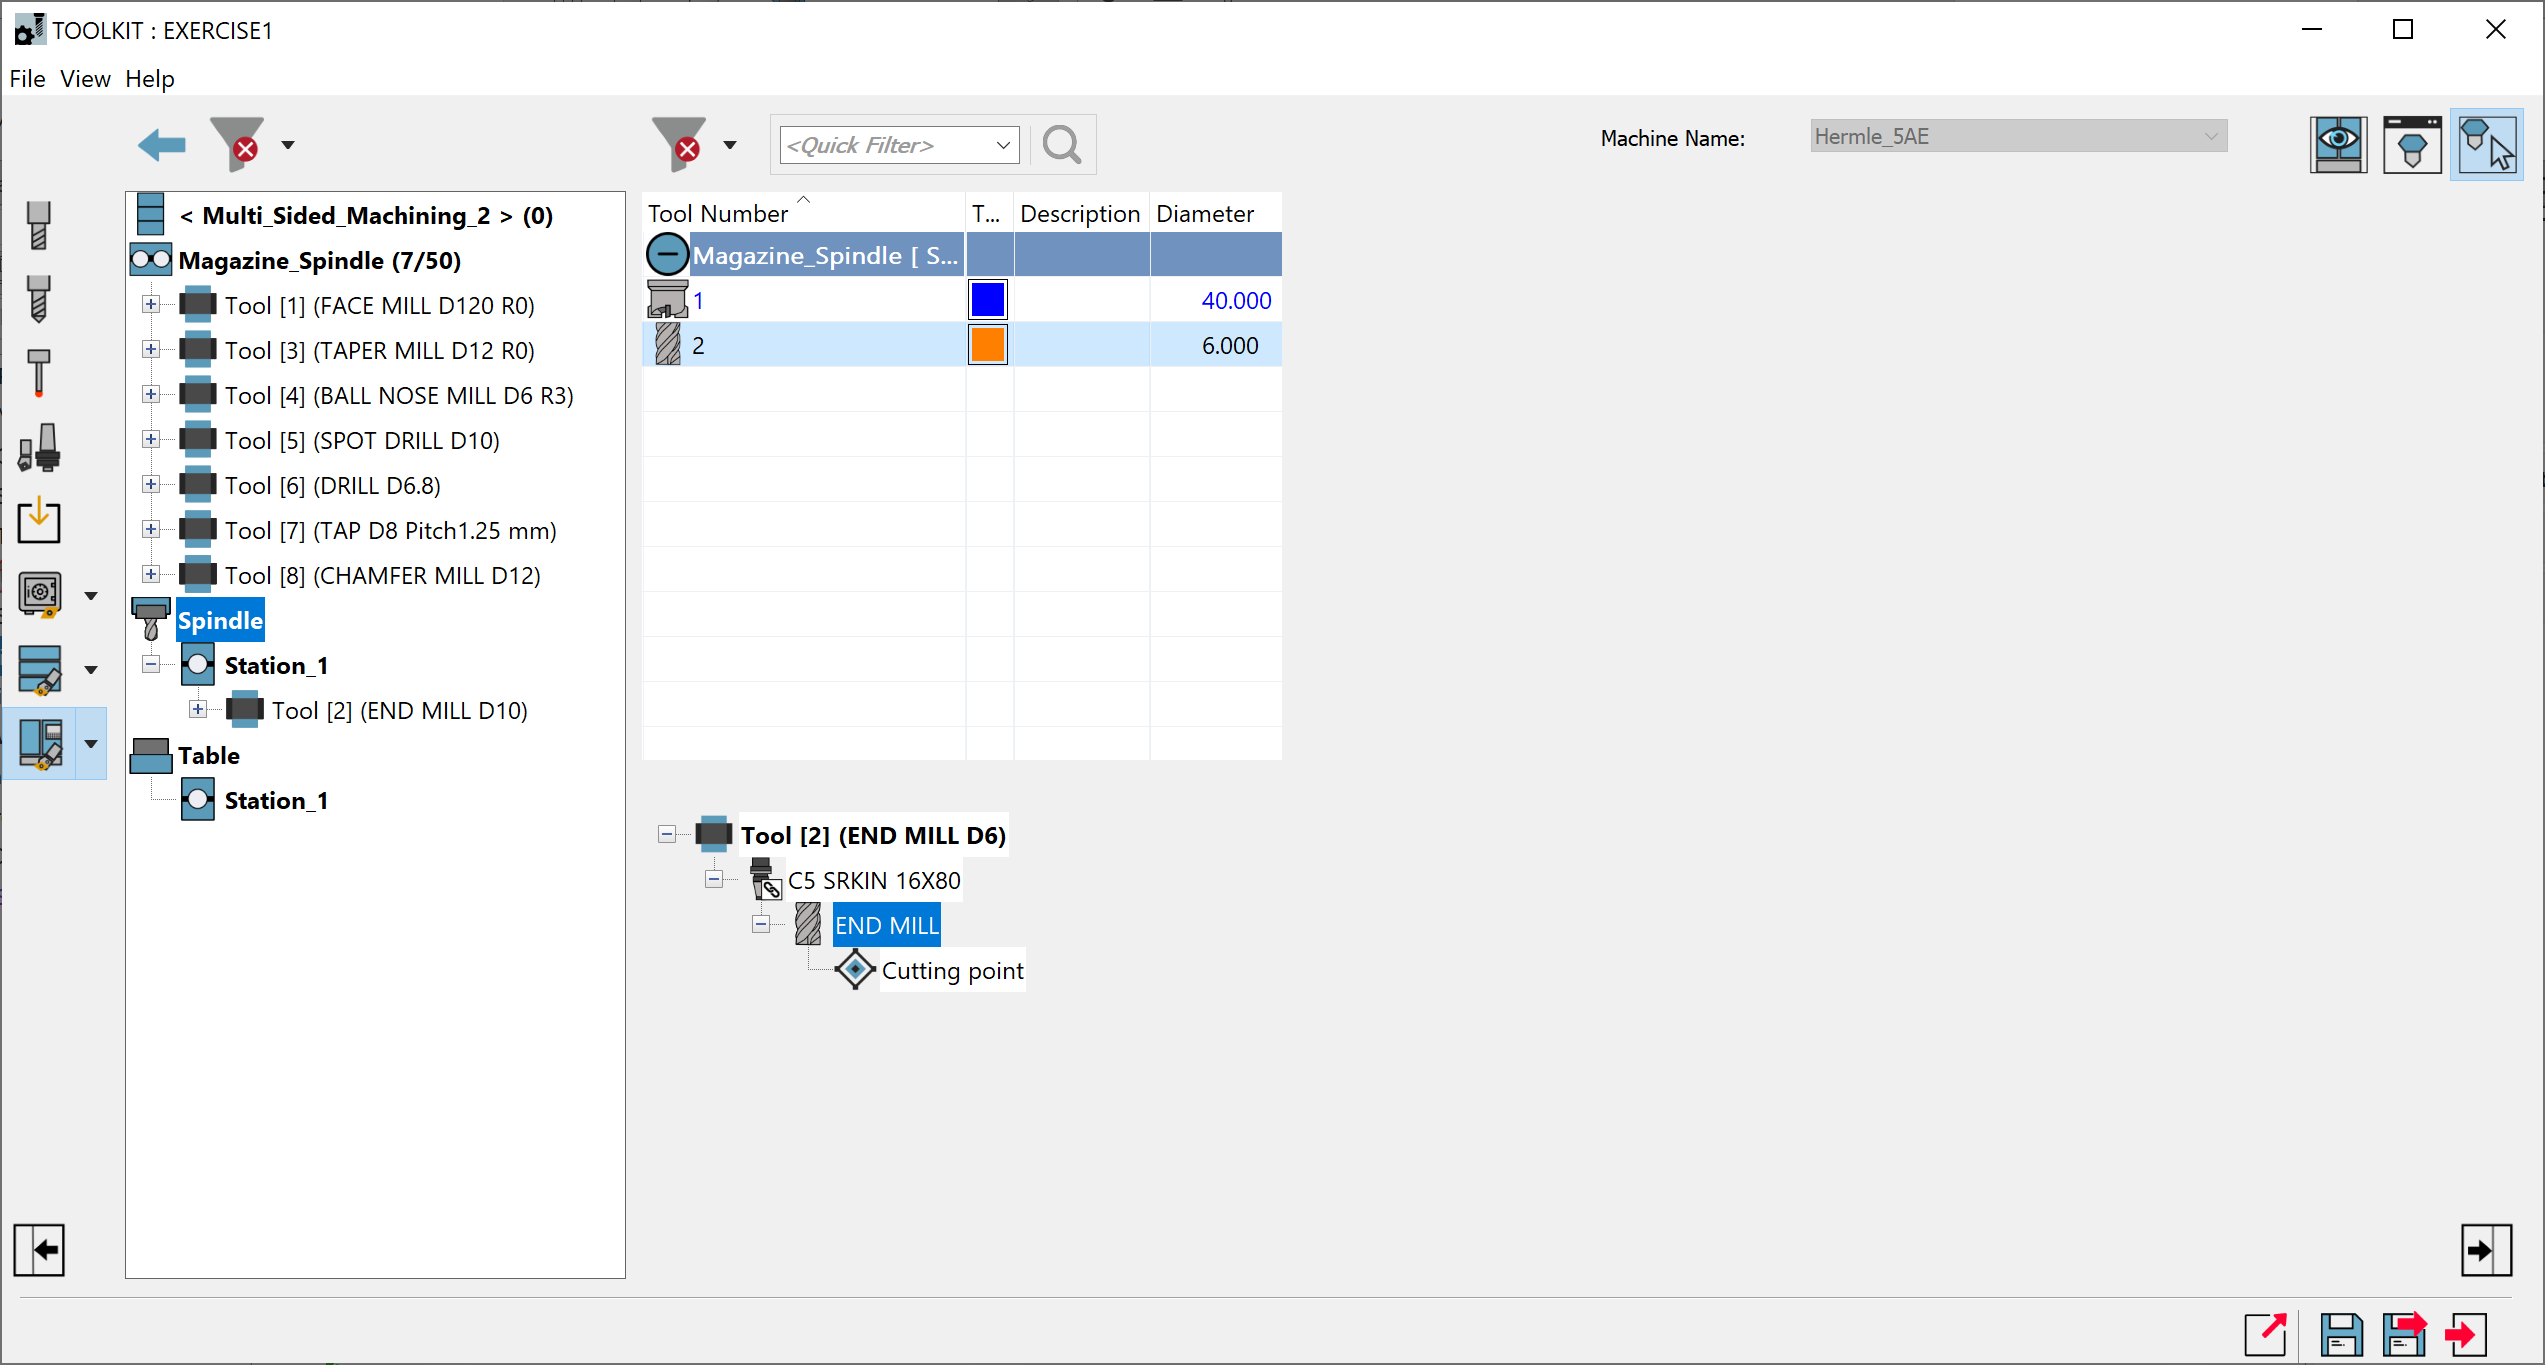
The CAM Tool Table is opened in an external window if you have selected the check box for External window for Import in the TOOLKIT Settings , where you can view and select the Tool Items for use in your current CAM-Part.
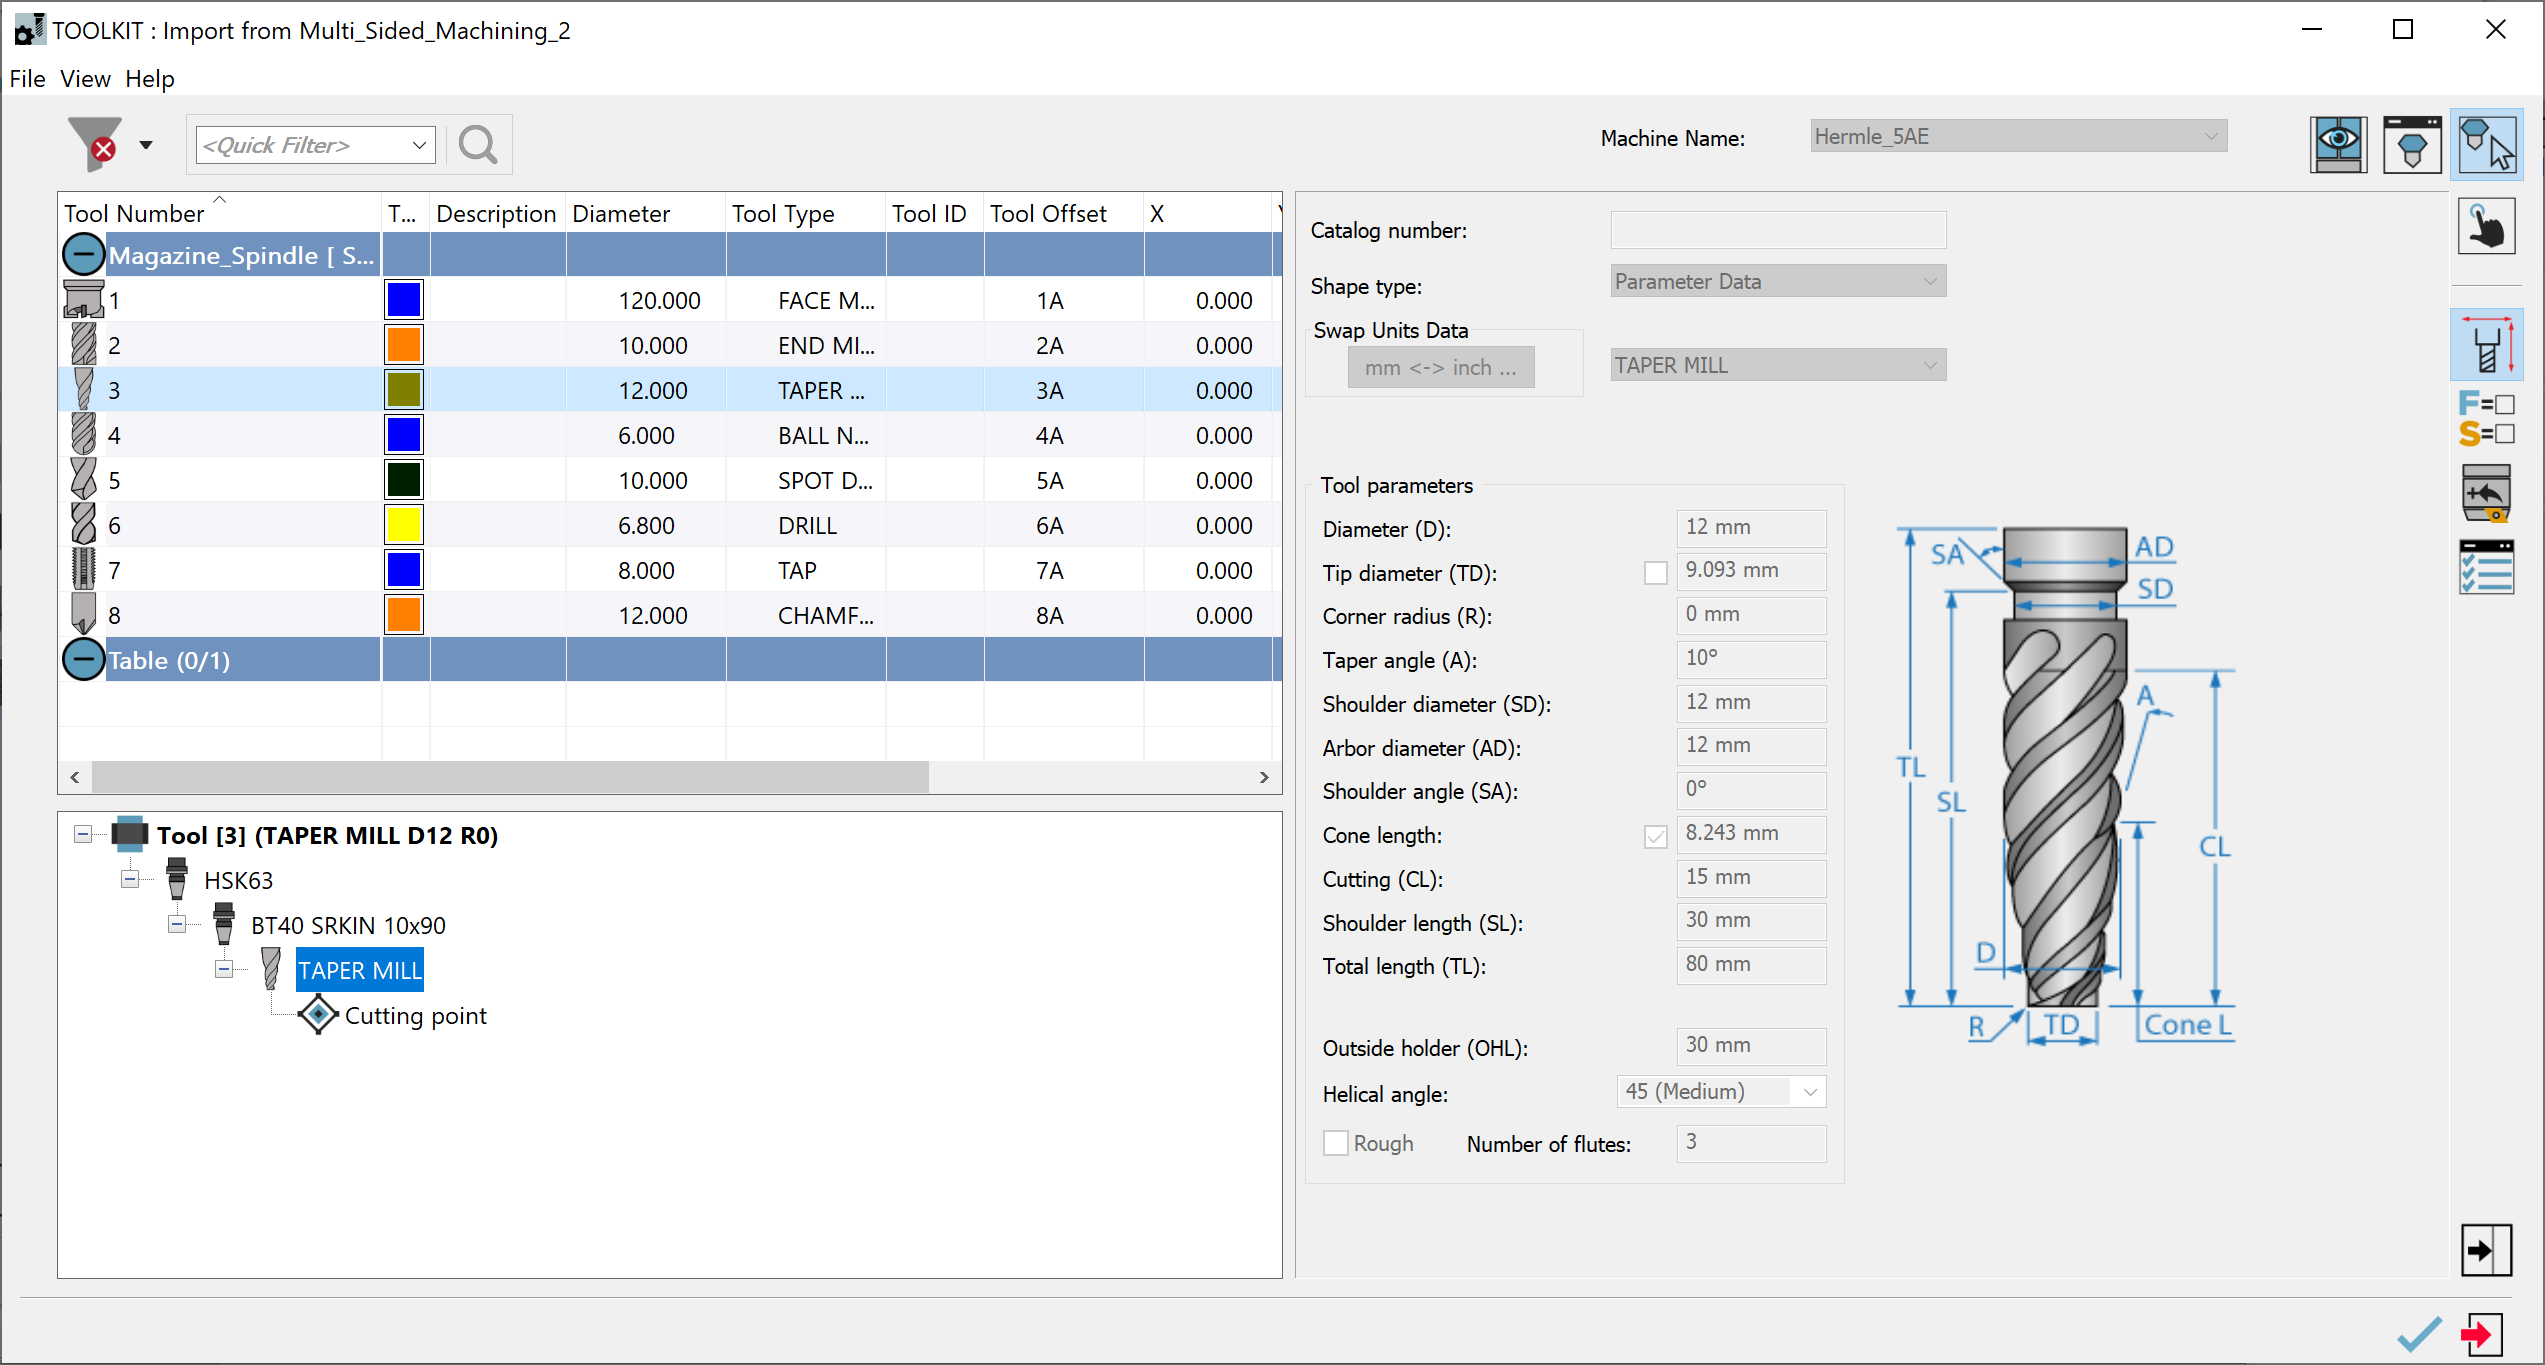
The right-click menu of the Part Tool table of Import window has the following options:

Swap Views - enables you to swap the Part Tool Table view with the Tool Item Manager view or vice versa.
View by List/Groups - toggles the view of the Part tool table as a complete List of Tools (View by List) or in separate Groups of Tools for Magazine, Storage, Table etc. (View by Groups).
Select All - selects all the tools for Import.
Send to Storage- sends the selected Tool(s) to the Tool Storage section in the Part Tool table i.e. the Local Tool storage in your machine.
Mount to 'Magazine Spindle'- mounts the selected Tool(s) on the Magazine of the Turret.
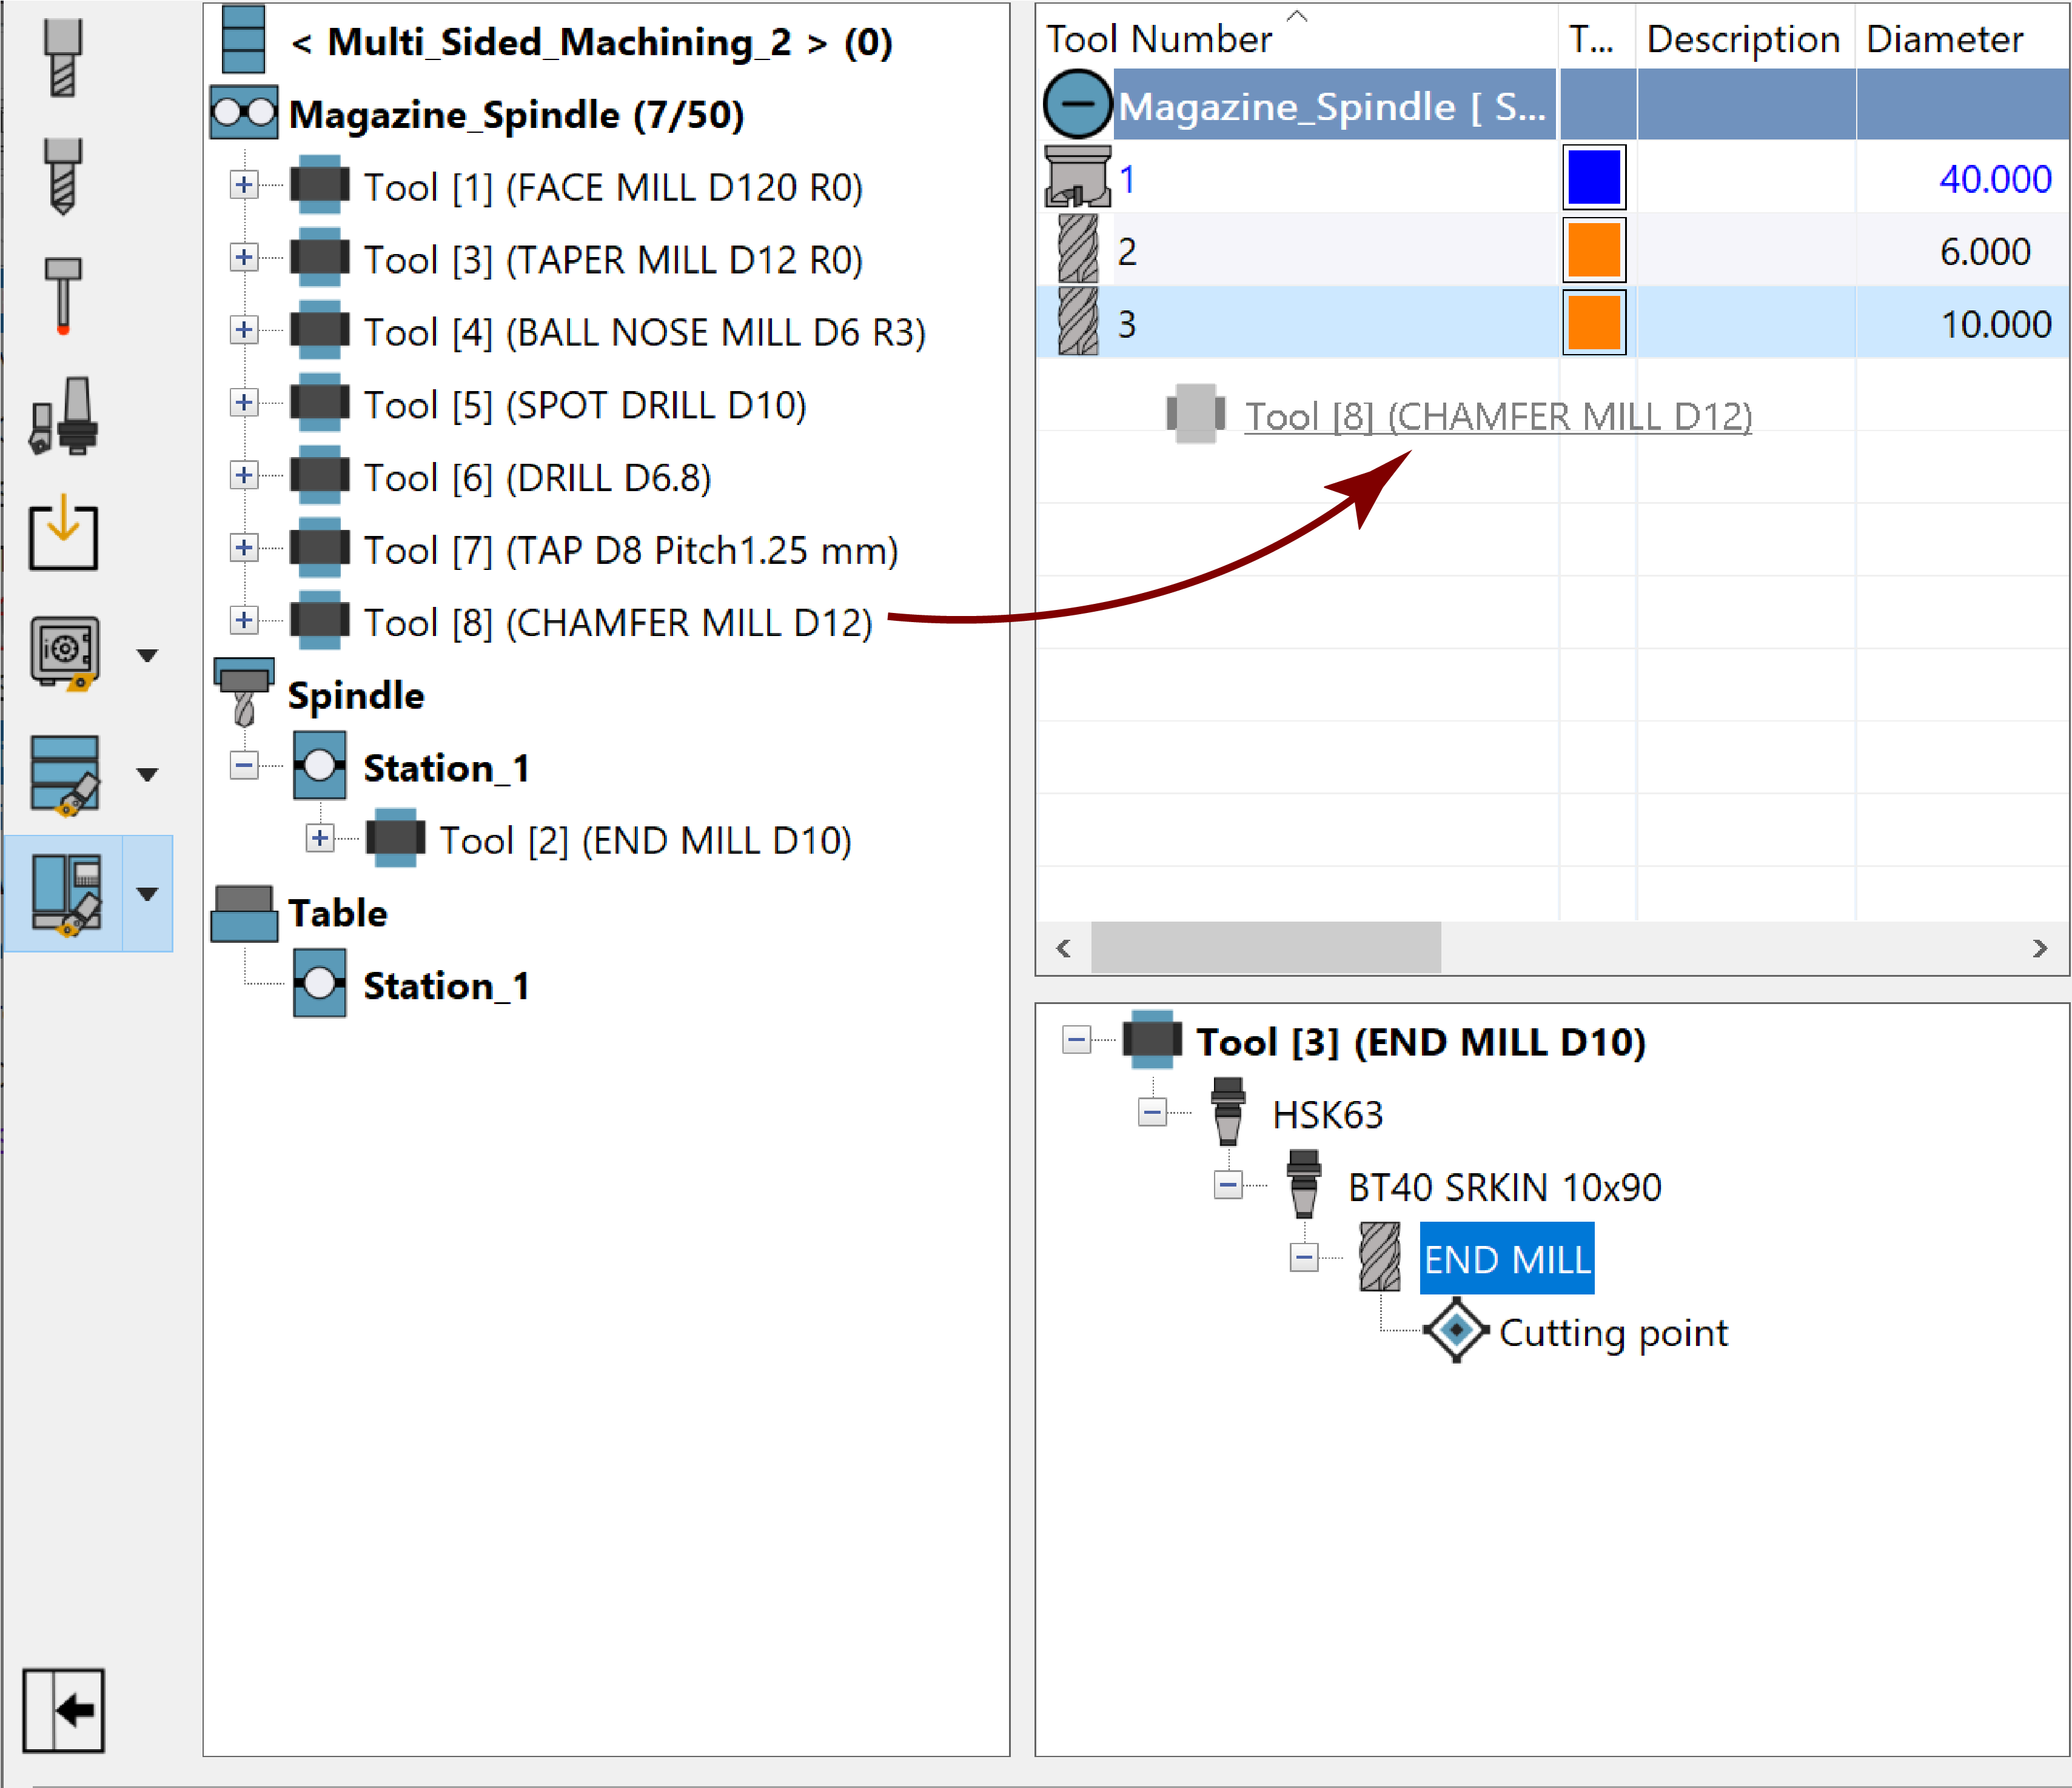
The Tool Items you select are imported to the Part Tool Table in sequence but are assigned the next available Tool Numbers/Positions.
If you exit the dialog box, the Tool Items of the chosen CAM Tool Table also appear in the Selection Pane from which the Tool Items can be imported to the Part Tool Table in the order of your choosing. The same window appears after Import if you have unchecked External window for Import in the TOOLKIT Settings.
In the Selection Pane
Double-click each Tool Item or
Select and drag & drop the desired Tool Items into the Part Tool Table or
Right-click on the Tool and select the mounting position of the Tool. In the Part Tool Table, the Tool is placed under the mounting position selected.
Once imported, the Tool Items can be edited if necessary and used in your operations.
Related Topics